Ingredient information on food packaging

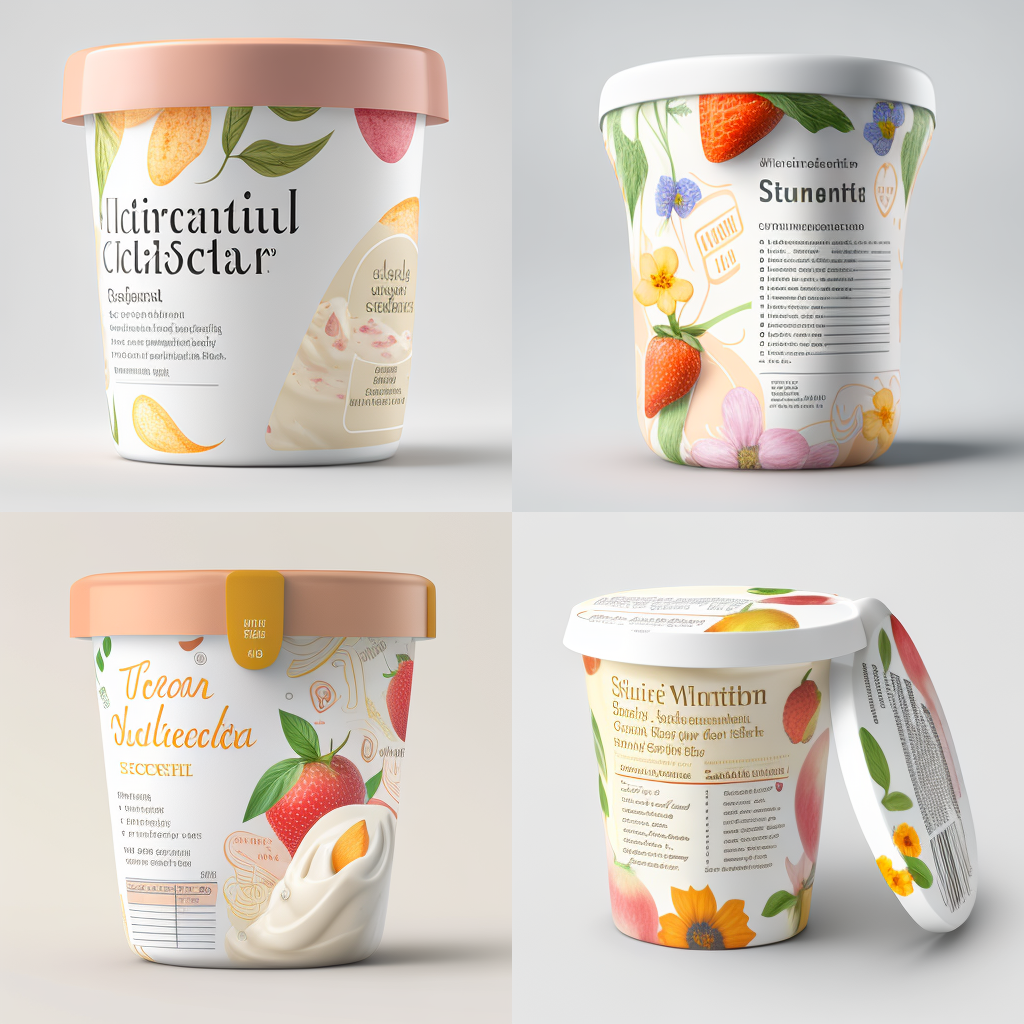
Image generated with Midjourney

There are some basic elements that always must appear on a food product’s label/packaging:

  • Name of the product and manufacturer’s details
  • Ingredients
  • Weight, calorie count, servings & serving size
  • Nutritional information
  • Freshness – is it a fresh product, recently produced or harvested or how has it been preserved, and what is its best-before date
  • Whether it is organic or not and does it have any GMOs – generally modified organisms – present in the product?

When it comes to the ingredients, these are expected to appear listed from highest to lowest according to their amount, but there is not always a clear explanation on when the percentage of the ingredient needs to be shown on the label. This, however, is of high importance for consumers so they can make informed decisions about the products they purchase and consume.

This information is typically required by regulatory agencies such as the European Food Safety Authority (EFSA) in Europe or the Food and Drug Administration (FDA) in the United States, to ensure that consumers are provided with accurate and relevant information.

But why is this so important?

Having the ingredient percentage on food labels helps consumers understand the nutritional content of the product. For instance, knowing that a product contains a high percentage of sugar would be useful for those who are trying to limit their sugar intake.

More importantly, information about the percentage of whole grains or allergen substances such as peanuts or gluten can also be critical for individuals with dietary restrictions or allergies.

In addition to nutritional and allergen content, the percentage of ingredients used can also impact the overall quality and taste of the product. Take for instance a product that contains a high percentage of filler ingredients. Its flavour or texture may differ from that of one that contains a higher percentage of high-quality ingredients.

By providing information about the percentage of ingredients used, consumers can make more informed decisions about the products they buy and determine which products best meet their needs and preferences.

Furthermore, when a product’s packaging uses an image that depicts a certain ingredient, the label must clearly indicate the percentage of that ingredient used in the product. This is because images can be misleading and give consumers the impression that a product is something that it is not really. Imagine that you place a picture of juicy strawberries on a carton of strawberry yogurt, but it mostly originates from a concentrate juice that contains only a small percentage of fresh strawberry. By indicating the percentage of the ingredient used on the label, the consumer is given a more accurate representation of what they can expect of the product.

Products where, unless the percentage of an ingredient is mentioned, a user could fail to distinguish them from other foods, must certainly have it showing in their labels.

Another reason for the requirement of ingredient percentage information is to ensure that products are properly labeled and marketed. If the ingredient appears in the name of the product, very much so! For example, if a product claims to be “whole grain,” , “light” or “low-fat”, the label should indicate the percentage of whole grain ingredients used/ percentage of fat or calories that are reduced so consumers can be sure they are getting the product they expect.

As seen, there are various reasons – regulatory and not – why including information on the amount of each ingredient in your product is relevant. The fact that some of these are not mandatory, makes it a hard decision sometimes as your product label are in general already quite full, and the font sizes are already small so adding more information only makes it harder. However, the decision to include them can have a competitive advantage for you when customers are comparing seemingly similar products. Nowadays there are alternative to traditional labeling to help you, and your designers, be more creative about what comes where in the packaging – think of peel labels, or QR codes, which can take some of the load of the information.

Deciding what stays visible and what is “hidden” behind those techniques is a different matter… how would you make that decision??

Relevant links

Post that inspired this article

European Food labeling rules

Packaging perspective correction (with your phone)

Perspective Correction Algorithm for Cell Phone Photography

Image with Midjourney

Cell phone photography has become increasingly popular in industrial and business applications in recent years, with the increase in resolution, accuracy and connectivity. One of the biggest challenges with cell phone photography when applied to Quality Control is correcting the perspective of an image. This is especially important when comparing a master design file with a printed a packaging material. A perspective correction algorithm can be used to address this issue.

The perspective correction algorithm is a software-based solution that adjusts the perspective of an image to make it look as though it was taken from a straight-on angle (thus, correcting the perspective distortion). This is achieved by identifying key points in the image, such as the corners or the edges of a packaging material, and adjusting the image to align these points. The process follows a set of determined steps:

  • Extract key points on both the design and the photo
  • Match those points to identify corredpondance
  • Calculate the required transformation
  • Modify the photography according to the calculated parameters to obtain a corrected image

The use of a perspective correction algorithm is especially important when overlaying a cell phone photo on a packaging design. This can be particularly useful when comparing a master design file (the artwork) with a photography taken with a cellphone of the printed material before it goes into full production. Being able to identify wether the approved master artwork corresponds exactly with the printed material helps reduce (or even eliminate) the risk of printing a packaging material from an un-approved or modified version. This sometimes happens when a stakeholder takes the liberty to modify an artwork for technical reasons and by mistake, something else goes amiss.

Content-based quality checks on printed packaging are crucial to avoid product recalls.

Every Quality Person in the world

There are industrial applications that involve in-line high resolution cameras to compare printed materials with master files. However, they are usually applied for Quality Control on already approved files. Therefore, being able to check before giving the green light for production on a print proof file has tremendous value, specially for highly regulated environments.

If you want to know more about how the perspective correction algorithm works, don’t hesitate to get in touch and we will be happy to chat with you. In the meantime, just to prove this is possible and valuable, you can see how the algorithm works with a really difficult case.

3 claves para el Rebranding de tu marca

Midjourney image

La organización de la información es fundamental en cualquier proyecto, especialmente en un rebranding de packaging. Una buena gestión de la información asegurará un proceso eficiente, sin errores y con un resultado de calidad. La creación de documentos de apoyo fundamentales para tener éxito en un rebranding son:

  • Procedimiento/s de diseño
  • Template/s
  • Documento/s de calidad

Un template es una herramienta que permite a los diseñadores tener recursos claros y precisos sobre las especificaciones de diseño para una categoría de producto. Este documento deberá incluir detalles como el tamaño, la posición de los elementos y los colores corporativos. Debemos crear tantos templates como tipo de producto vaya afectar al rebranding, si habláramos de la industria farmacéutica serían uno de envase, otro de prospecto y otro para los aluminios por ejemplo.

Un procedimiento detallado es otro documento importante que debe ser creado en la fase inicial del proyecto. Este documento explicará cómo se deben realizar las tareas y los pasos necesarios para lograr un resultado final exitoso. Además, el procedimiento también ayudará a evitar errores y a asegurar que todas las tareas se realicen de manera consistente. De nuevo el orden de dicho documento nos facilitará su uso, no debe ser una descripción del proceso, sino una síntesis de la información fundamental ordenada en capítulos para resolver el “puzzle” o diseño. De nuevo debe hacer tantos procedimientos como tipología de productos.

El documento de calidad es un registro de todas las especificaciones y requisitos necesarios para garantizar un resultado de alta calidad. Este documento debe incluir todos los detalles fundamentales para la aprobación del diseño y será más eficiente en la medida de que seamos capaces de condensar la información en capítulos para centrarnos en una zona o sección del diseño. Un ejemplo reducido de un algunos detalles a considerar en un envase de un medicamento podrían ser:

  • Tipo de archivo (Ai, PDF?)
  • Colores (Pantone +, máximo número de colores)
  • Márgenes
  • Detalles corporativos y logos
  • Braille
  • Revisión de Textos
  • Códigos (EAN, laetus, datamatrix, ….)

Todos estos documentos de apoyo deben generarse en una primera fase, donde se diseñan una muestra de los productos a modificar. Estos modelos servirán de base para el resto de los productos, y garantizarán una continuidad, consistencia u homogeneización en el diseño.

En resumen, la creación de documentos de apoyo es fundamental en un proyecto de rebranding de packaging. Estos documentos asegurarán un proceso eficiente, sin errores y con un resultado de calidad por lo que se debe invertir el tiempo y atención necesaria en su creación además de las pertinentes pruebas de uso para detectar repeticiones innecesarias así como detalles omitidos.